Sort the result list
You can sort search results in the result list to create an overview and find the most relevant information.
Sorting is done using the search result columns and lets you arrange results by categories such as date, title, or responsible participant. You can sort the result list by one or two columns, either by using the column header names or by using the context menu. You can also reset your sorting.
F2 remembers which column a given list was last sorted by. All lists are individually sorted and saved.
You can also group columns, both manually and automatically.
Sort by one column
All of F2’s result lists can be sorted by their columns.
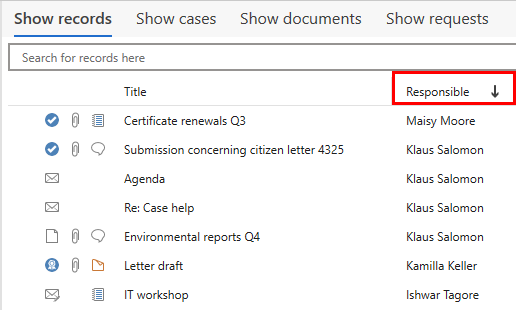
You can choose how to sort the search results by clicking on a given column. The column’s value is sorted in alphanumeric order (0-9 and A-Z or 9-0 and Z-A). This means that the column is not only sorted alphabetically, but also according to the numerical value. This ensures that an item with the value "10" isn’t placed between items "1" and "2".
Each column can be sorted in ascending or descending order. An upward-pointing arrow ![]() or a downward-pointing arrow
or a downward-pointing arrow ![]() next to the column’s name indicates whether the sorting is ascending or descending. Click once on a column to sort results in ascending order (A-Z). Click again to sort the results in descending order.
next to the column’s name indicates whether the sorting is ascending or descending. Click once on a column to sort results in ascending order (A-Z). Click again to sort the results in descending order.
Sort by two columns
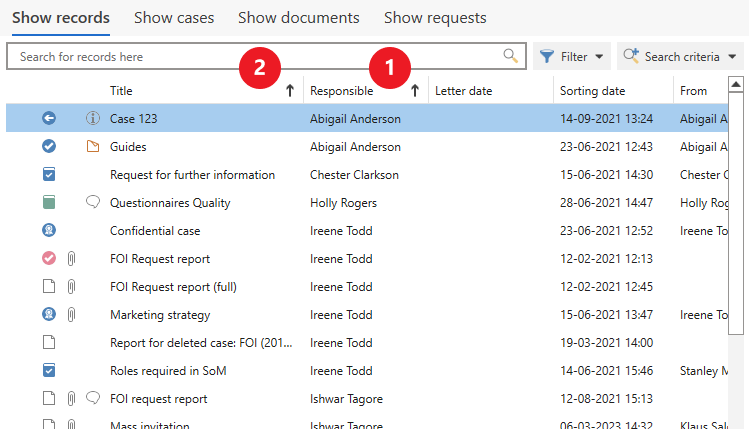
F2 allows you to sort search results in two levels. This means that you can sort the result list by "Responsible" (1) and then by "Sorting date" (2), for example. This means that results are sorted alphabetically by responsible participant and then by date for each participant, as shown in the example below.
To sort the result list by two columns, first click on the primary sorting column. Then hold the Shift key and click on the secondary sorting column. You can also add a secondary sorting using the context menu.
An upward-pointing arrow ![]() or downward-pointing arrow
or downward-pointing arrow ![]() next to the column header indicates whether the sorting is ascending or descending. When more than one column is used for sorting, the columns are marked with icons for primary sorting
next to the column header indicates whether the sorting is ascending or descending. When more than one column is used for sorting, the columns are marked with icons for primary sorting ![]() and secondary sorting
and secondary sorting ![]() .
.
Sort the result list using the context menu
You can sort the result list using a column’s context menu.
-
Right-click on a column header.
-
Select Primary sorting, and optionally Secondary sorting, and choose whether each sorting should be ascending or descending. An upward-pointing arrow
 or downward-pointing arrow
  next to the column header indicates whether the sorting is ascending or descending.
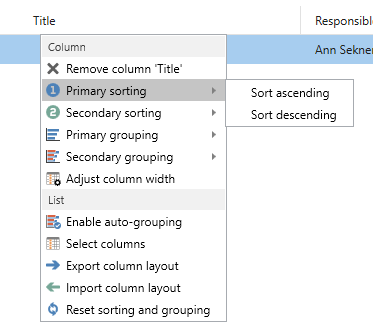
The context menu contains several options for customising and grouping columns. Read more about the context menu.
Grouping columns
You can group items in the result list using the context menu. Each group header displays the number of results it contains as well as the number of unread items.
To group the result list, right-click on the column you want to group by. Then click on Primary grouping. You can right-click on another column and select Secondary grouping, if necessary.
This will create a group hierarchy (1) as shown in the example below. You can group by up to two levels if you add a secondary grouping. The columns used for the grouping are marked with the icons for grouping ![]() and secondary grouping
and secondary grouping ![]() (2), respectively. The grouping hierarchy is preserved if you subsequently remove the columns you have chosen to group by from the result list.
(2), respectively. The grouping hierarchy is preserved if you subsequently remove the columns you have chosen to group by from the result list.
To remove a grouping, right-click a column used in the grouping. Under the "Grouping" or "Secondary grouping" menu item, click on Remove grouping. If you want to remove both your sorting and grouping, click on Reset sorting and grouping, which restores the result list’s default sorting.
| Your personal grouping hierarchy is removed when you enable auto-grouping. If you disable auto-grouping, you must recreate your personal grouping hierarchy. |
| In F2 you can set a future date as the letter date on a record. This may be useful if you have written a letter before it has to be sent. In the result list, the "Future" group lets you keep track of records with a future letter date. The "Future" group appears as the top group in the result list when results are sorted by letter date. |
Auto-grouping
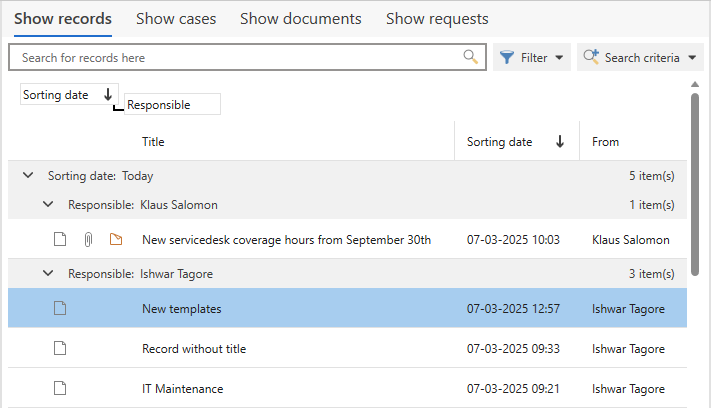
You can use the Auto grouping function to group F2’s result list by a given column. Auto-grouping is available in both the main and case windows. When auto-grouping is enabled, click on a column header to group the result list by that column. In the example below, the result list is auto-grouped by the "Responsible" column.
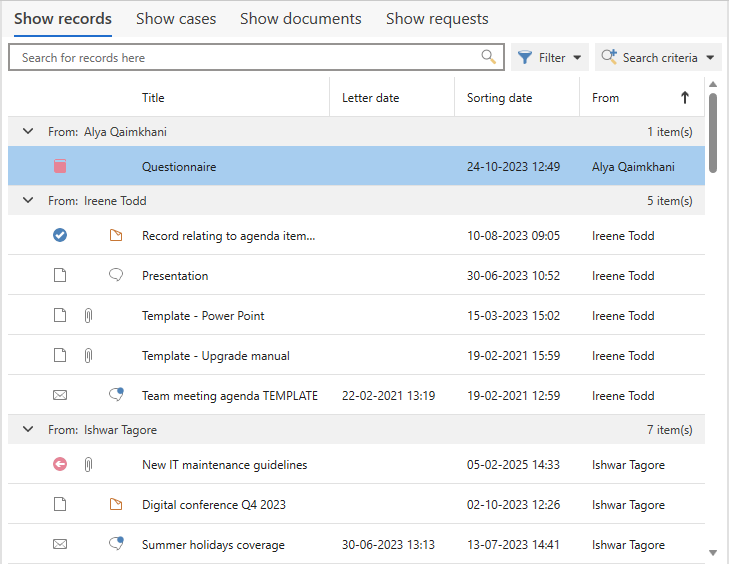
Each group header displays the number of results it contains as well as the number of unread items.
Toggle auto-grouping using the column context menu or by clicking on the Auto grouping menu item on the "Settings" tab. See the figure below.
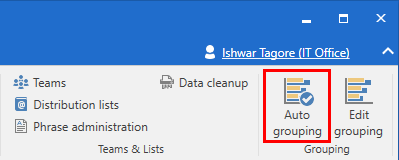
If the Auto grouping menu item is dark grey, automatic grouping is enabled. The auto-grouping icon is also displayed on the header of the column used for grouping.

If the Auto grouping menu item is the same light grey as the rest of ribbon, automatic grouping is disabled.

| Each list has a default sorting column. When auto-grouping is enabled, if you sort a list by a column other than its default column, the default column is used for secondary sorting in each group. You cannot remove the list’s secondary sorting when auto-grouping is enabled. However, you can replace it by selecting another column for secondary sorting. |